Quick Start
Create your first kicue survey in about five minutes — from account signup to publishing and reviewing results.
This guide walks first-time users through creating a survey, collecting responses, and viewing results — in about five minutes.
Step 1: Sign up and log in
- Open https://kicue.com and click Start for free
- Enter your email and password to create an account
- Click the link in the confirmation email to activate your account
- Log in, then complete the two-factor authentication (OTP)
See Account Setup for full details.
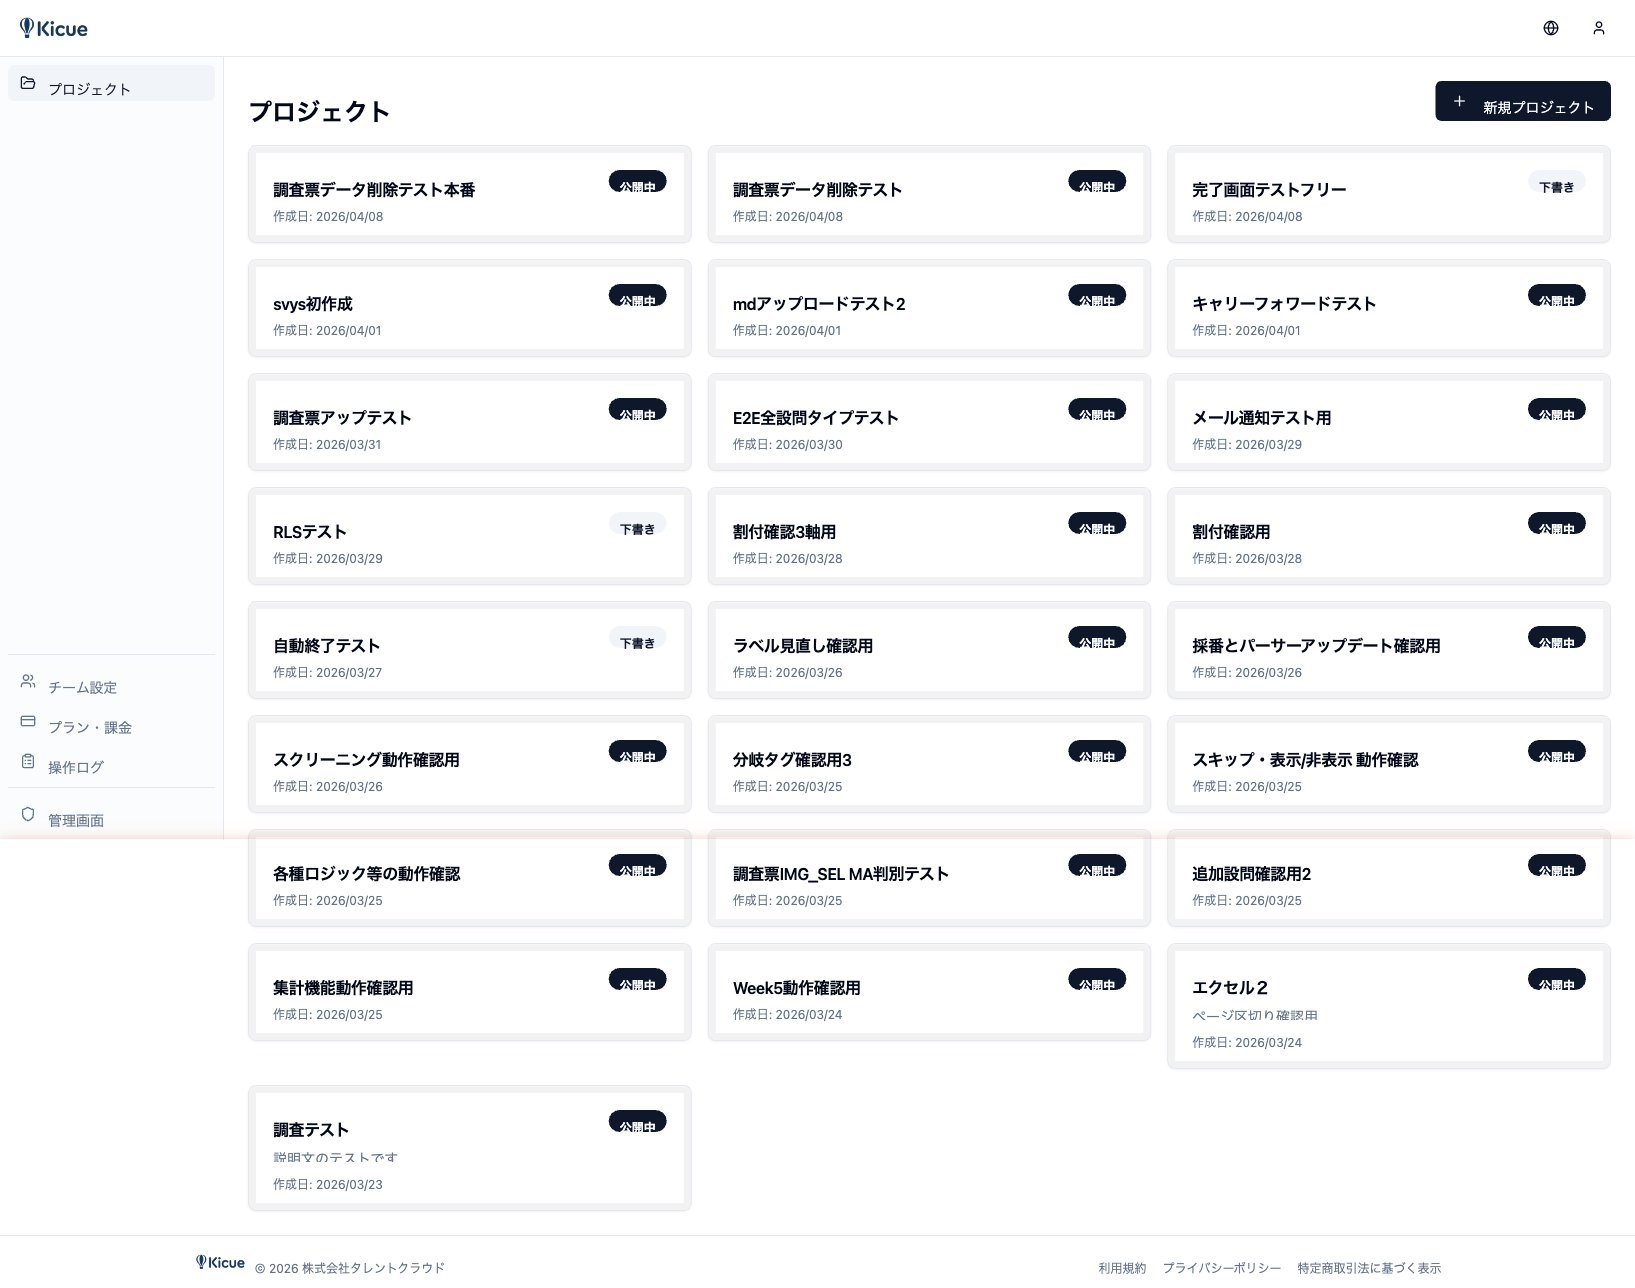
Step 2: Create a project
From the dashboard, click New project and give it a name (for example, "Concept Test — 2026 Q2"). One project represents one survey (one source document).
Step 3: Upload your survey document
On the project detail screen, drag and drop your survey file onto the Upload survey area.
Supported formats:
- Excel (
.xlsx) - Word (
.docx) - Markdown (
.md) - Plain text (
.txt)
Once uploaded, AI parsing starts automatically.
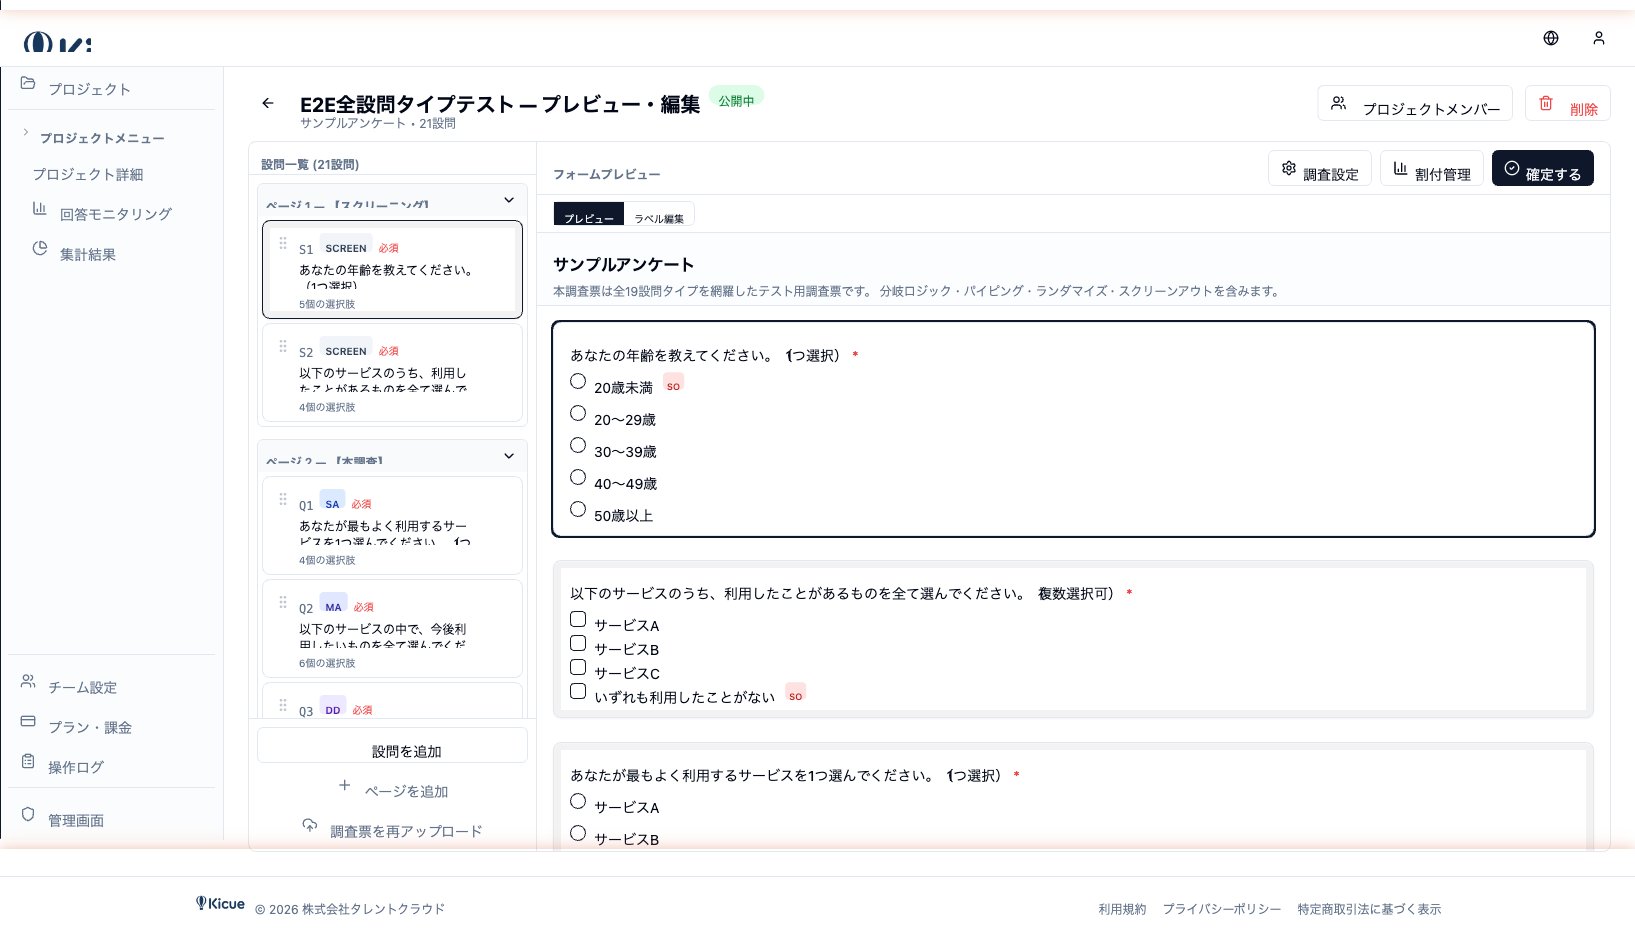
Step 4: Review the AI parsing results
Within seconds, parsing completes and you are taken to the preview screen. Verify:
- Question text, options, and question types are recognized correctly
- Branching logic (skip / show conditions) matches your intent
- Required / optional settings
- Page breaks
You can fix anything inline without leaving the page.
Step 5: Publish
Click Publish in the top-right corner of the preview. kicue issues a public URL you can copy and share via email, chat, or social media.
Step 6: Collect responses
Recipients can fill out the form directly — no account required. Watch progress in real time from the Monitoring tab:
- Total responses, completion rate, drop-off rate
- Time-series chart
- Fraud-flag counts
- Per-quota progress if you use quota management
Step 7: Review results
Once you have enough responses, jump to the Analytics tab.
- GT tabulation — simple tabulation per question
- Cross tabulation — cross any two variables
- Export — download raw data or aggregated results as CSV or Excel
That covers the basics. Explore the following sections next to learn more: